
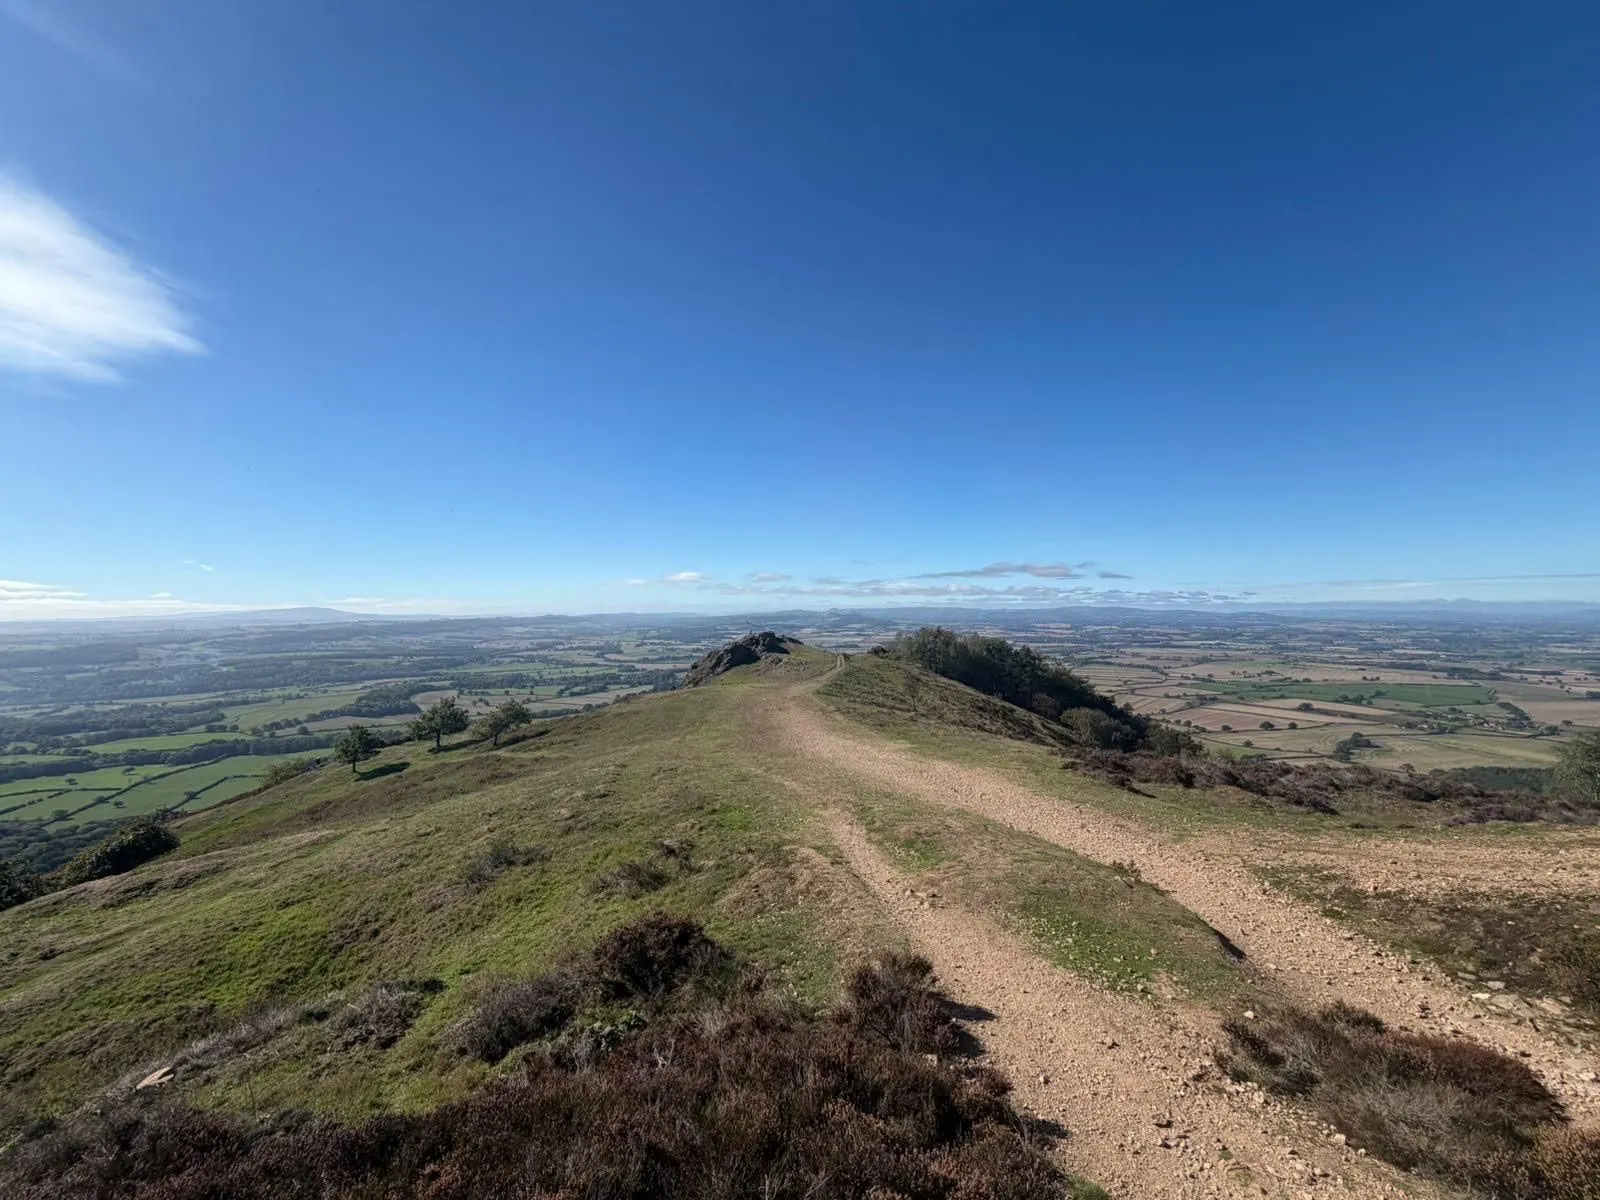
You don’t need an expensive camera to take useful, professional-looking photos for your business.
Your phone is often already capable of producing strong images for your website, social media, newsletters and day-to-day marketing. The biggest improvements usually come from a few simple choices: better light, steadier framing, cleaner backgrounds and more attention before you press the shutter.
That’s good news if you’re a busy business owner or marketing lead. You can get a long way with the phone you already carry.
This guide focuses on the practical changes that make the most difference.
Start with a clean lens
It sounds obvious, but it’s one of the easiest things to overlook.
Your phone spends most of its time in your hand, pocket or bag. The camera lens quickly picks up fingerprints, dust and smudges. These can make photographs look hazy, soft or lacking in contrast, particularly when you’re shooting towards a window or another bright light source.
Before you take a photo, wipe the lens with a soft, clean cloth. Avoid using anything rough that could scratch the surface.
Make it part of your routine:
- Take your phone out.
- Clean the lens.
- Check the camera view.
- Then start arranging the shot.
This small step can improve clarity before you change a single camera setting.
Use the main rear camera
Most phones have more than one camera on the back. For everyday business photography, start with the main rear camera, usually the widest, standard camera marked as 1x.
It normally gives you a good balance of detail, brightness and flexibility. It’s useful for photographing products, people, premises, finished work and behind-the-scenes activity.
Try not to rely on heavy digital zoom. When you pinch the screen to zoom between the phone’s natural camera settings, the phone may simply enlarge or crop the image. The result can look softer, noisier and less detailed.
Instead, move your feet.
Walk closer to the subject if you can. This gives the camera more useful detail to work with and often creates a more natural-looking photograph. If your phone has a dedicated telephoto lens, use its marked optical setting rather than an in-between digital zoom level.
Moving closer also helps you notice what is happening around the subject. You may see a distracting object, a better angle or a cleaner background.

Find the best light in the room
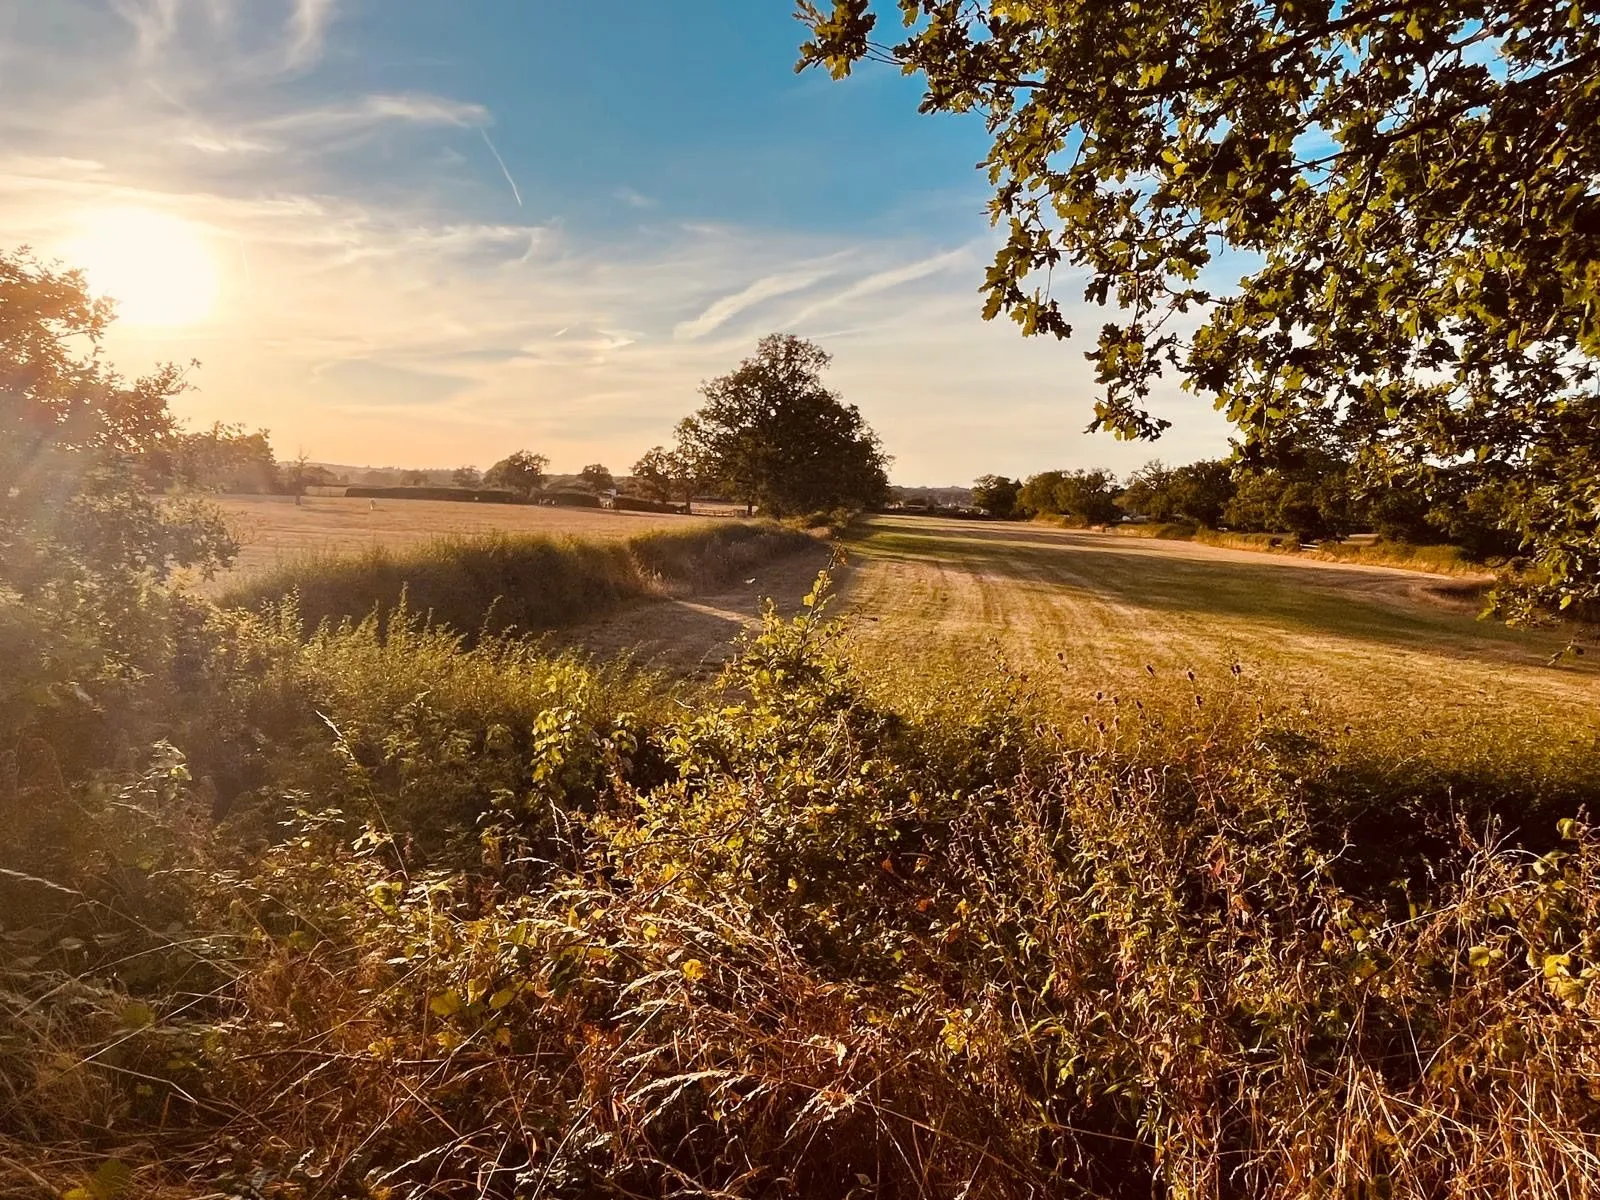
Light usually matters more than the phone model.
The simplest place to start is near a window. Position your subject so the window is in front of it or slightly to one side. This gives you softer, more even light than many overhead fittings.
If you’re photographing a person, avoid placing them directly in front of the window with their back to the light. Their face may become too dark while the background becomes very bright.
Try this setup:
- Put the subject a short distance from a window.
- Keep the strongest light in front of or beside the subject.
- Turn off overhead lights if they create yellow or uneven colour.
- Use a pale wall or piece of card to bounce a little light into darker areas.
- Move the subject if the sunlight is creating harsh shadows.
Cloudy daylight can work particularly well because the clouds soften the light. Direct sunshine can still be useful, but you may need to move into open shade or further from the window.
Be careful with mixed light. A room lit by cool daylight and warm ceiling lights can create strange colour differences across a face, product or wall. If possible, choose one main light source and keep the rest simple.
Tap to focus and adjust the exposure
Your phone will make its own decisions about focus and brightness, but it doesn’t always know what matters most in the frame.
Before taking the photo, tap the screen where you want the image to be sharp. This tells the phone which part of the scene is important.
For a product, tap the product. For a portrait, tap the person’s face. For a finished piece of work, tap the detail you want people to notice.
After tapping, look for the brightness control. On many phones, this appears as a small sun icon or slider. Move it slightly up or down until the subject looks clear without losing detail.
This is particularly useful when:
- The background is much brighter than the subject.
- A white product looks grey or dull.
- A dark product loses detail.
- A person’s face is partly in shadow.
- Bright windows or skies dominate the frame.
Avoid making the image brighter simply because the screen looks more impressive. Check whether you can still see detail in light areas and shadows. A slightly darker image often retains more useful information than one with bright areas that have turned completely white.
Some phones also let you press and hold to lock focus and exposure. This can help when you’re taking several similar photographs and don’t want the phone changing its settings between frames.
Keep the phone steady
Blur can make a good photograph unusable, especially indoors or in lower light.
Hold the phone with both hands where possible. Keep your elbows close to your body and press the shutter gently rather than tapping aggressively.
You can also:
- Lean against a wall.
- Rest your phone on a stable surface.
- Use a small phone stand or tripod.
- Take a breath and keep still as you press the shutter.
- Use a timer when photographing yourself.
Night mode can produce useful results, but it usually needs the phone to stay still for longer. A stable surface becomes even more important.
If the subject is moving, take several photographs in quick succession. On many phones, holding the shutter activates burst mode. This gives you more chance of finding one frame where the expression, movement and focus all come together.
Keep the phone level
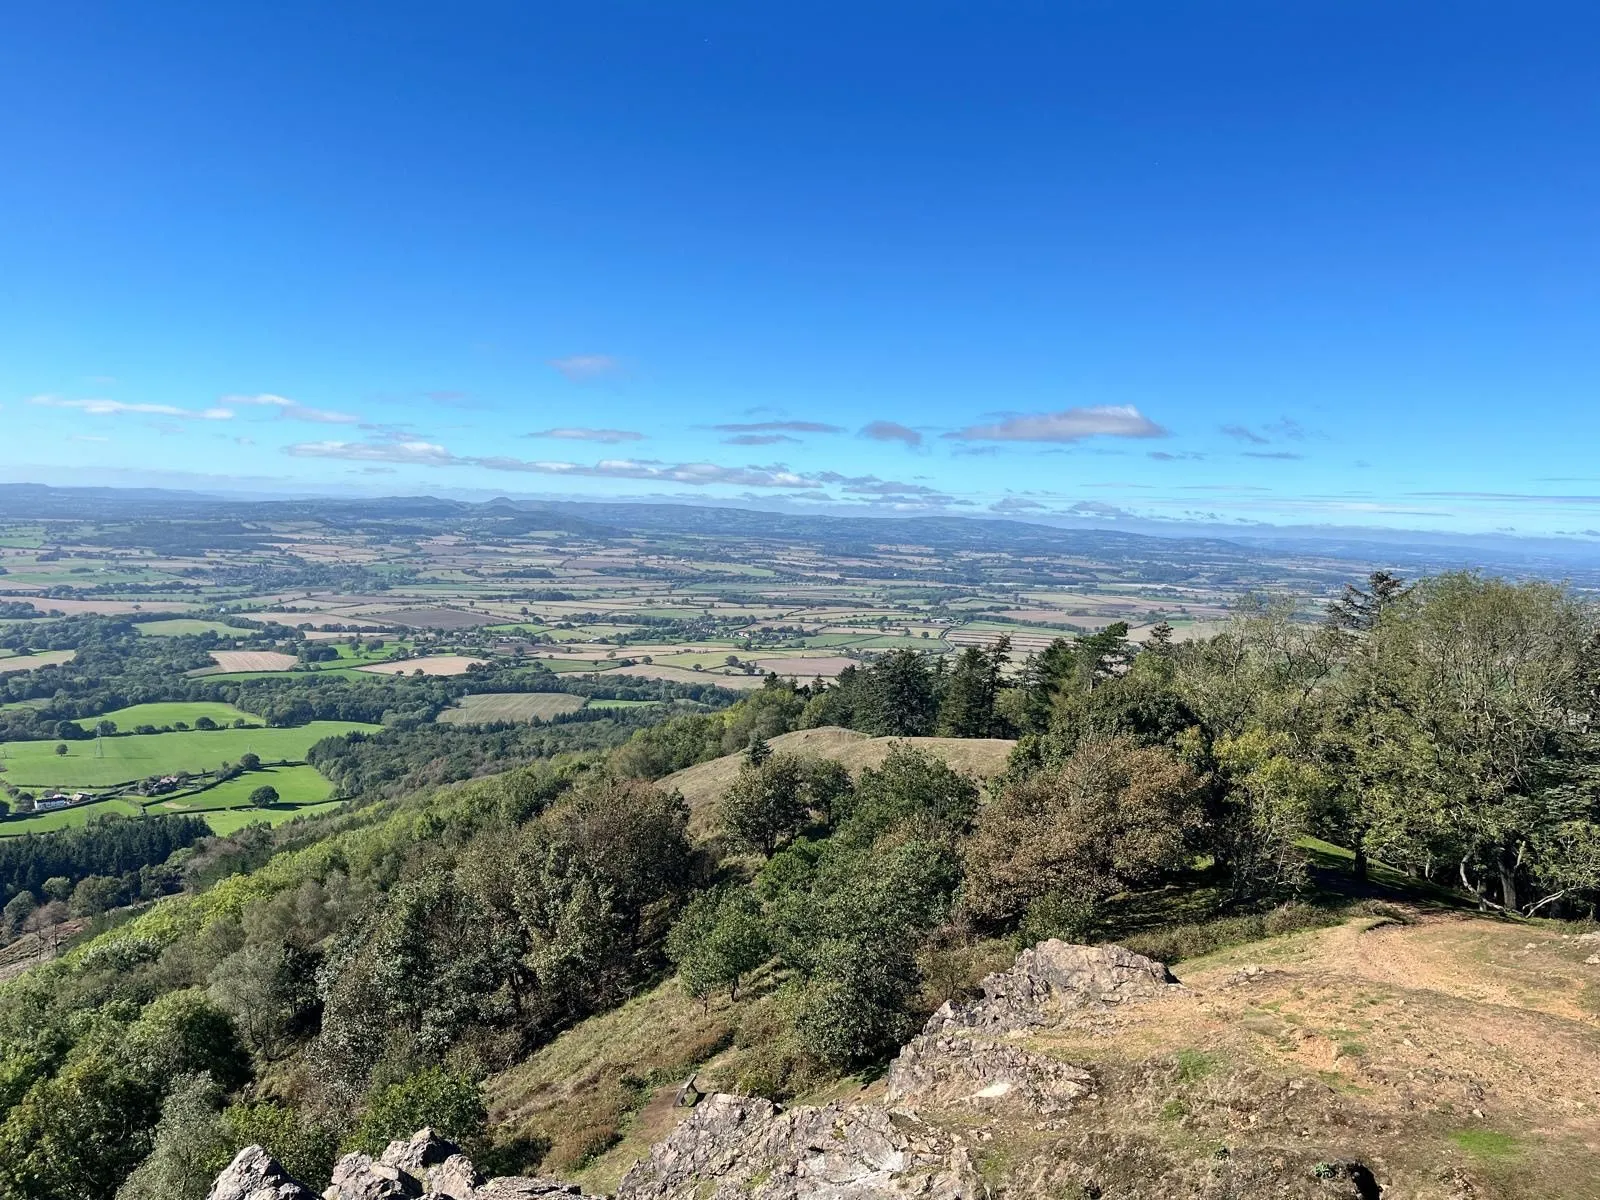
Tilted lines can make a room, building or product look untidy even when the subject itself is well presented.
Before you take the photo, check the edges of the frame:
- Are door frames vertical?
- Is the horizon level?
- Are shelves and tables sloping?
- Are the sides of a building leaning inwards?
- Is the product sitting at a natural angle?
Turn on the camera grid if your phone offers it. The grid helps you position subjects and check straight lines. It can also help you avoid placing every subject directly in the centre.
When photographing a tall building or an interior, stand back if possible and keep the phone level rather than pointing it sharply upwards. This reduces the appearance of leaning verticals.
You can correct small issues when editing, but careful framing at the start gives you a stronger image and more room to crop.
Keep the background clean
A good subject can be weakened by a busy background.
Before you take the photo, scan the whole frame. Look for cables, bins, bags, old mugs, bright signs and anything that competes with the main subject. Check behind people for objects that appear to grow out of their heads.
A clean background doesn’t have to be completely plain. It just needs to support the story.
For a product, this might be a tidy worktop or neutral surface. For a service business, it could be the real working environment with unnecessary clutter removed. For a team photo, it might be a bright wall, an organised studio or a relevant part of the workplace.
Move the object, move the subject or move yourself. Small changes can simplify the whole frame.
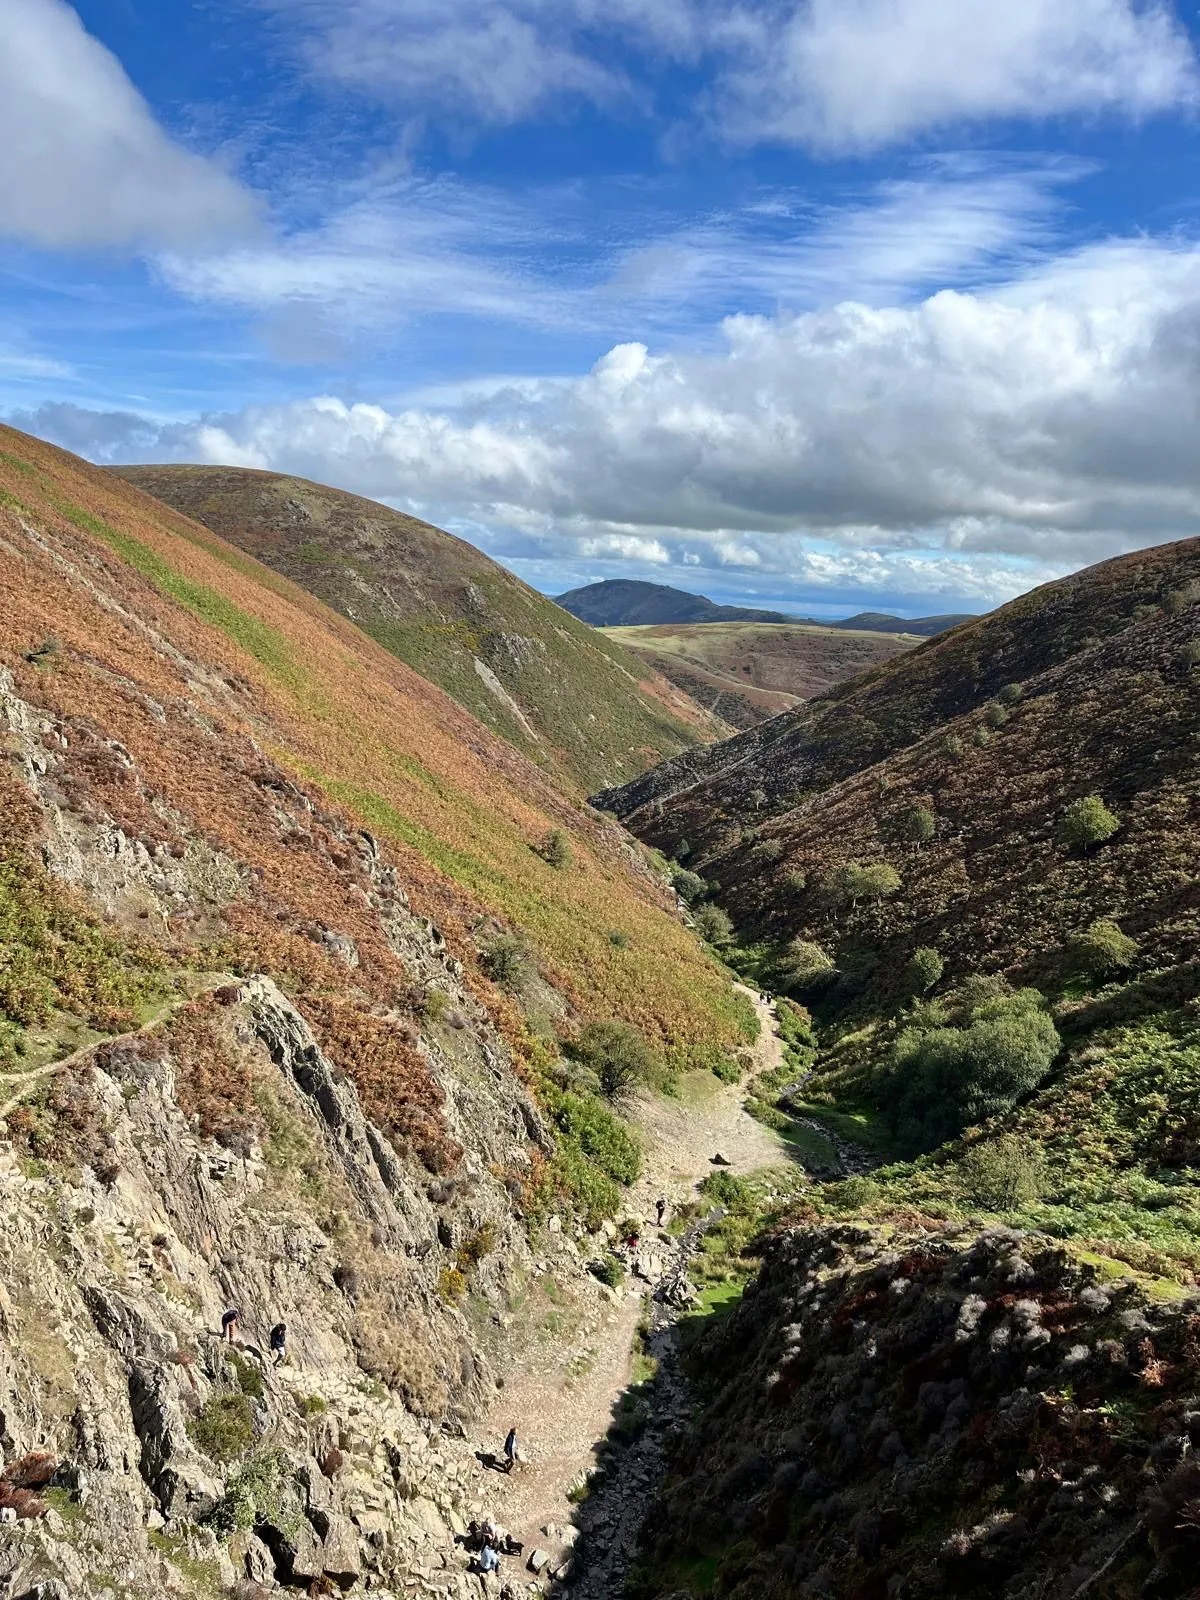
Move your feet instead of zooming
Zooming is tempting because it feels quick. But walking closer usually produces a better result.
Try taking the same photograph from three positions:
- Where you are standing.
- A few steps closer.
- From a slightly different angle.
Compare the frames afterwards. You may find that the closer image has more detail, while the alternative angle removes a distraction or creates a cleaner shape.
You can also change height. Photographing a product from directly above may suit a flat lay, while a lower angle may make an object feel more substantial. A portrait taken at eye level usually feels more natural than one taken from below.
The key is to make the choice deliberately rather than relying on the first position that happens to be convenient.
Take more than one frame

Even when everything looks right, take several photographs.
People blink. Expressions change. A hand moves. The phone focuses on the wrong point. A small movement creates blur. Taking more than one frame gives you options without requiring extra equipment.
For important images, vary one thing at a time:
- Take a wider version.
- Take a closer version.
- Try the subject slightly to the left or right.
- Capture both a vertical and a horizontal frame.
- Take one with more space around the subject.
- Try a second angle.
This is especially useful for website and social media content, where the same scene may need to work in different formats.
Choose the right shape for the job
Think about where the photograph will be used before you shoot it.
A vertical image may work well for a phone screen, social post or portrait. A horizontal image may suit a website banner, presentation or wide section of a page. If you’re unsure, take both.
Leave a little space around the subject when possible. It gives you more flexibility when cropping and helps the image work across different layouts.
Avoid cutting off important details such as hands, tools, product edges or the top of someone’s head. If you’re photographing a person for a website, take a few versions with space to one side. That space may be useful if text is placed beside the image.
Use a simple pre-shoot checklist
Before photographing something for your business, ask:
- Is the lens clean?
- Is the subject in useful light?
- Have I chosen the main rear camera?
- Am I relying on digital zoom?
- Is the phone level?
- Is the background helping?
- Have I tapped to focus?
- Is the exposure right for the important part of the scene?
- Is the phone steady?
- Have I taken several frames?
You don’t need to apply complicated camera theory to every photograph. These basic checks will improve many everyday images.
When should you use a proper camera or photographer?
Your phone is well suited to regular updates, behind-the-scenes content, simple product photos and quick images for social media.
A proper camera or professional photographer becomes more useful when the images have a bigger job to do. That might include a website launch, a new service, a product range, a team profile, a location shoot or a campaign where consistency matters.
The value is not only the camera. It’s the planning, lighting, direction, composition and ability to create a useful set of images in one session.
A practical approach is often a mixture: use your phone to keep content current, then bring in a photographer for the images that represent the business most clearly.
At Garvey Visuals, we create commercial photography, video production and campaign-ready content for UK SMEs. If you’d like stronger images but aren’t sure what you need, you can start a conversation with us. We’ll keep the next step focused on your business, your audience and where the content will be used.
What comes next in Camera Confidence
This is the first article in our Camera Confidence. Practical skills, no fancy kit required series.
Next, we’ll look at natural light in more detail, followed by exposure basics, common camera mistakes, better video, composition, clean sound and simple editing. Each guide is designed to help you create more useful content with the equipment you already have.
Start with one change today: clean the lens, find a window and take a few deliberate frames. You may be closer to better business photography than you think.
© 2026 Garvey Visuals Ltd. All rights reserved. Garvey Visuals Ltd retains the copyright in the work it creates; client assets are supplied under a perpetual, worldwide, royalty-free, non-exclusive licence, which takes effect on full cleared payment. Where the work is published we ask that it is credited to Garvey Visuals where reasonably practicable.